*If you’d like a little more information on making your own, homemade bath salts, a Video Tutorial is provided at the end of this post*
Here’s the reality around my house. I jump in the shower, and within seconds there’s a knock on the door. “Mom, I can’t find my toothbrush.” I yell out something like, “Check the toothbrush holder.” (I’m probably crazy to think it might actually be where it belongs.) Then I hear screaming. Big brother and little brother are in a battle, and they both come knocking on the door telling me what the other did (and how they are not to blame for any of it). I yell back that they need to figure it out. Two seconds later, I’m informed that the puppy just poohed on the floor. So much for a nice, relaxing shower…
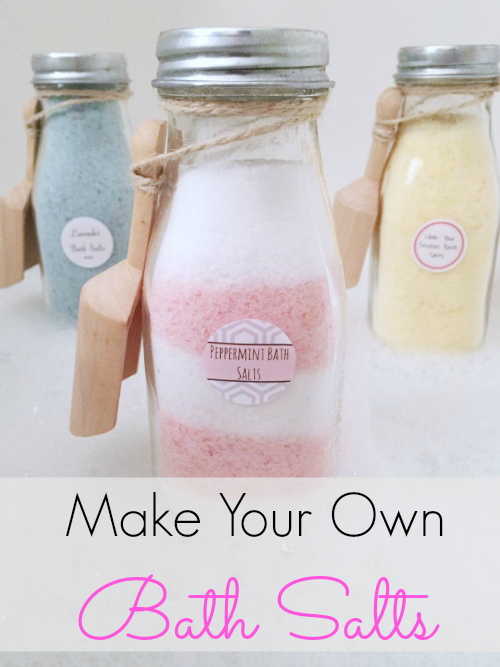
Since Mother’s Day is right around the corner, here’s an idea for the moms in your life; give her the gift of some uninterrupted time to soak in the tub… with a glass of wine and a good book. I have a very simple recipe for making your own bath salts. If you are a mom (or not), you can certainly make these for yourself (just sneak in a bath after the kiddos are in bed).
Here’s what you’ll need:
- Baking Soda (UPDATE: Some people reported that their bath salts were hardening with the original recipe that included baking soda. After doing some research, it seems baking soda is the most likely culprit. I have taken the baking soda out of the recipe to hopefully avoid this issue. However, adding a small scoop of baking soda to the bath water, along with the bath salts, would be ideal. I did try the recipe without baking soda, and divided it between two glass jars, one containing a Silica Gel Pack, which is intended to absorb moisture, and one without. After four days, both bottles of bath salts were able to be shaken loose, but the one with the silica gel pack definitely fared better.)
- Silica Gel Pack (Optional)
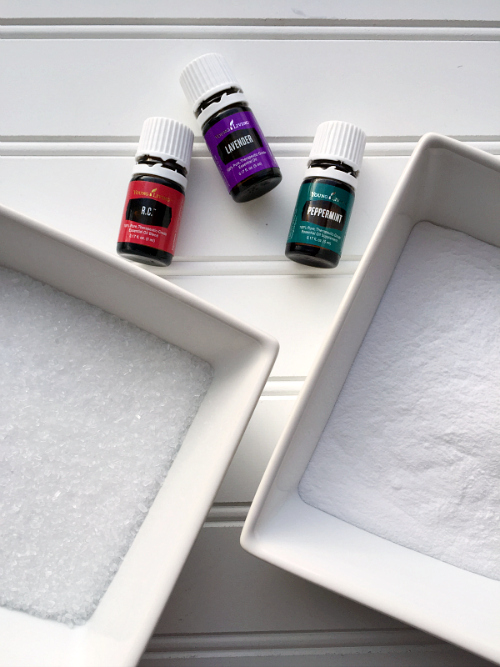
- *Essential Oil (Wondering which brand of essential oil you should use? Check out this post… And no, I’m not selling anything )
- Airtight Glass Storage Container- Some essential oils will start to break down plastic, so it is ideal to use a glass container for storage. You also want to keep the salts in an airtight container to avoid moisture.
- Wooden Spoons (Optional)
- Twine (Optional)
- Food Coloring (Optional)- Please note: If you choose to add food coloring to the salts, less is more. Start with just 1 drop and work your way up to the desired color, one drop at a time. If you add too much moisture to the salts, this can cause the salts to harden over time.
*Please be aware that some essential oils are not recommended when pregnant, or for use with very young children. Please consult a health professional to address any questions or concerns.
Directions:
All bath salt recipes start off the same way: Pour 2 cups of Epsom salt into a bowl. You can certainly use more or less depending on the size of your container.
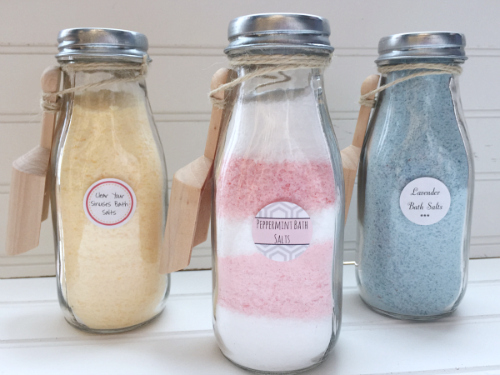
Now you can experiment a little bit with fragrance and color. Here are some great ones to try:
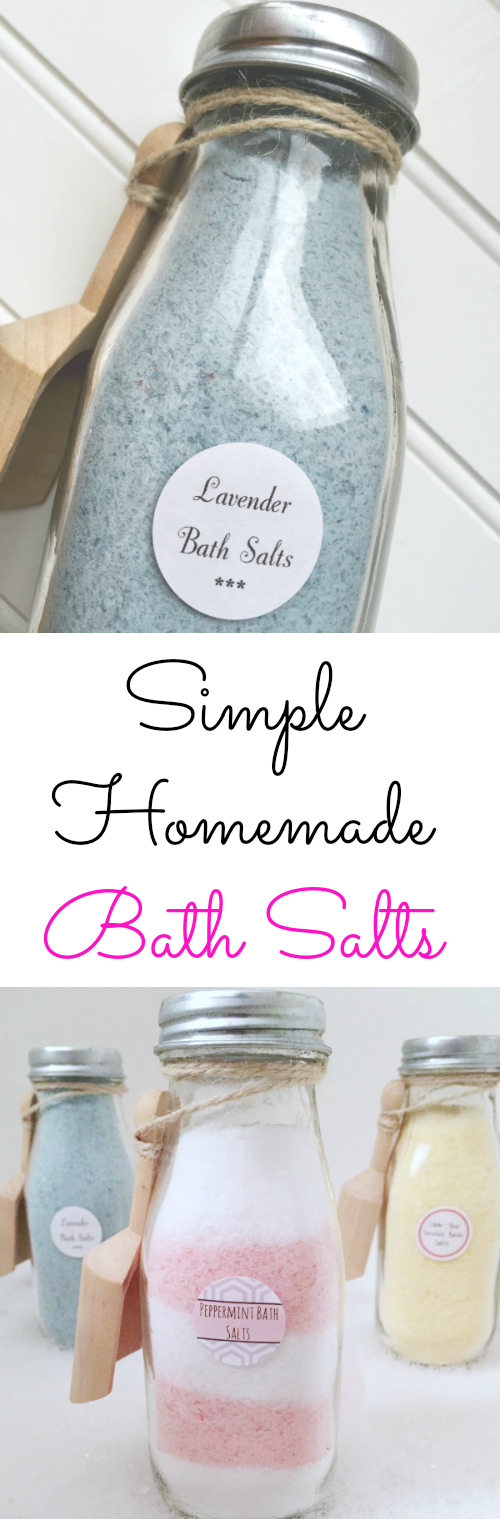
Relaxing Lavender Bath Salts:
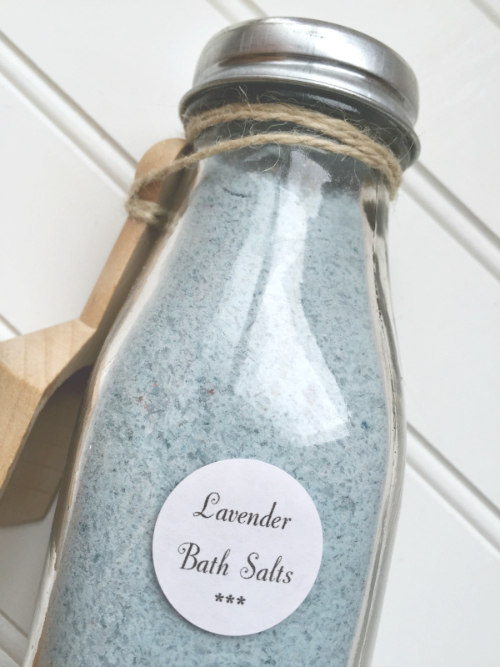
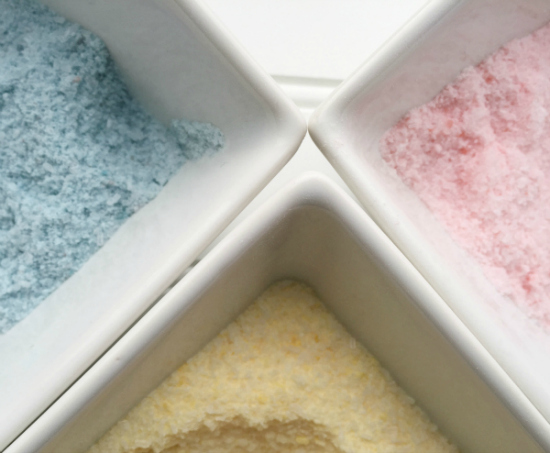
By adding 10-15 drops of Lavender Essential Oil, you create a wonderful relaxing scent. I decided to add a bit of blue and red food coloring to the salts for added color. Keep mixing until evenly distributed.
“Perk Me Up” Peppermint Bath Salts:
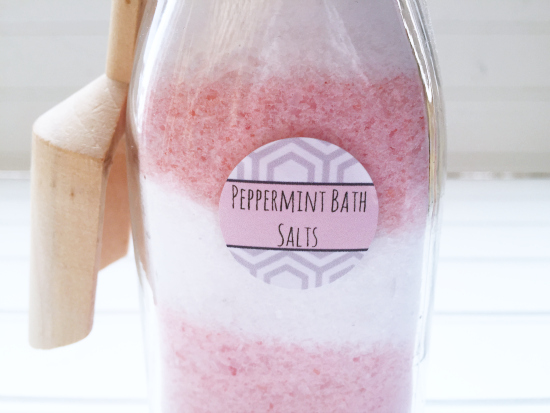
Add 10-15 drops of Peppermint Essential Oil to the Epsom salts to create an energizing scent. This time I decided to get a little fancy and divided the mixture in half prior to adding the color. I then layered in it the container for a striped appearance.
Clear Your Sinuses Bath Salts:
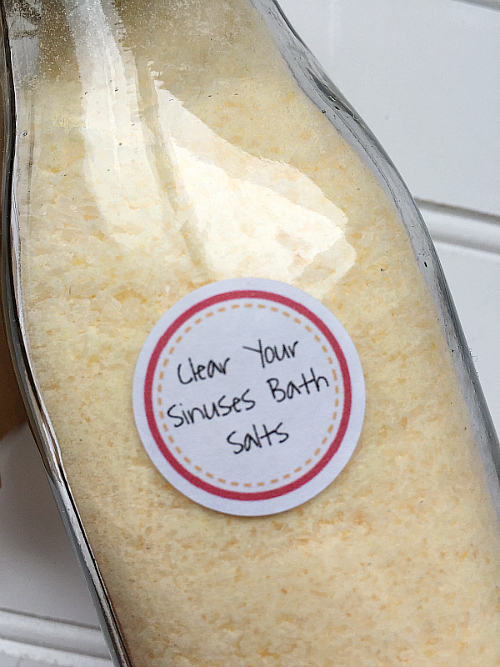
The last combination was created for those times when you’re suffering from a cold or flu. I used RC™ , which is a combination oil containing Eucalyptus, Myrtle, Marjoram, Pine, Lavender, Cypress, Black Spruce, and Peppermint. You could also combine 3-5 drops each of Eucalyptus, Lavender, and Peppermint in lieu of the combination oil. I decided to go yellow with this one. You really need a cheery color when you’re not feeling well, right?
After you are done mixing everything together, store the salts in an airtight container and add a silica gel pack (optional) to avoid hardening of the salts. Add a label with a little wooden scoop, and you’re good to go.
Here are some free printables labels for your bath salts:
*These printables are formatted for Avery 5410 Labels. (I found them on Amazon, as no office supply stores regularly stocks these labels… plus they are cheaper on Amazon). When you arrive to the “print screen”, uncheck the “Fit to Page” box so they print correctly onto the 4×6 page.
Enjoy!
Interested in learning more about using essential oils in your home?
Come join our Essential Oils Facebook Group!
Want to Follow Along with Lemons, Lavender, & Laundry? Subscribe!
Every email subscriber is entered into a monthly giveaway for products I think you’re gonna love. Learn more here.
Social media more your style? I’d love to have you follow along:
Facebook // Pinterest // Instagram // Twitter // Google+
Love it? Pin it!
*These statements have not been evaluated by the Food and Drug Administration. These products are not intended to diagnose, treat, cure, or prevent any disease.
This post was originally published at Clean and Scentsible on January 29, 2016.
Original article and pictures take www.lemonslavenderandlaundry.com site
Комментариев нет:
Отправить комментарий